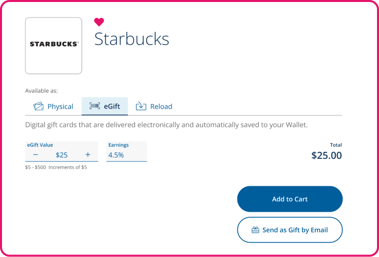
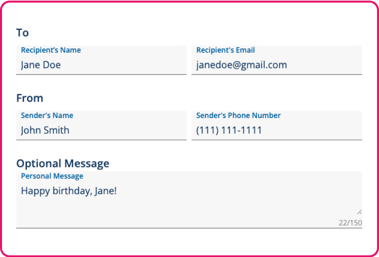
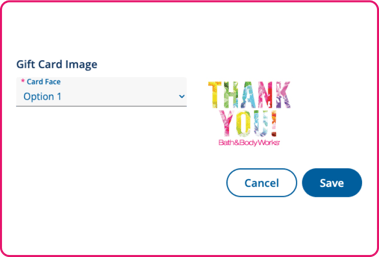
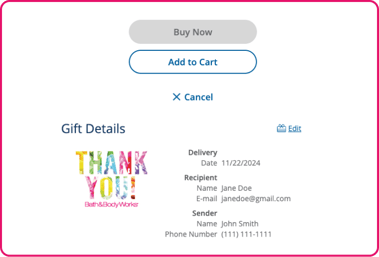
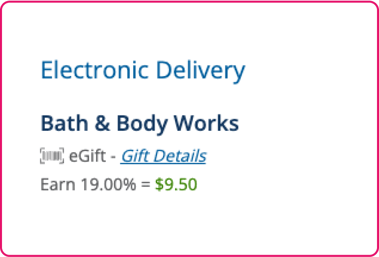
Send eGift Cards as Gifts
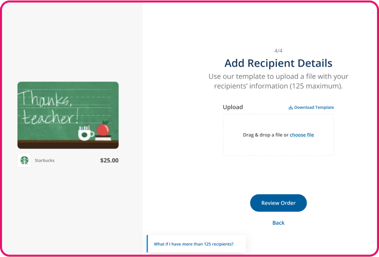
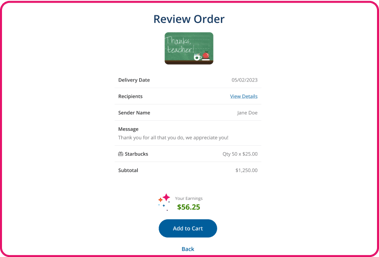
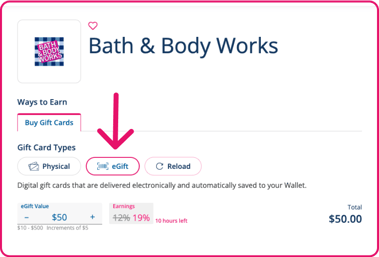
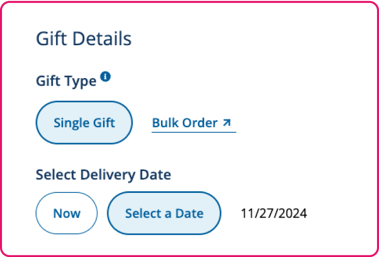
eGift cards are the most convenient way to earn on all your gifting—whether for a birthday, holiday, or in bulk for teachers, graduates, or office staff. Learn how to send eGift cards as gifts in bulk or individually on your computer or the RaiseRight mobile app.


.png?width=379&height=257&name=Step02%20(1).png)
.png?width=379&height=257&name=Step01%20(1).png)
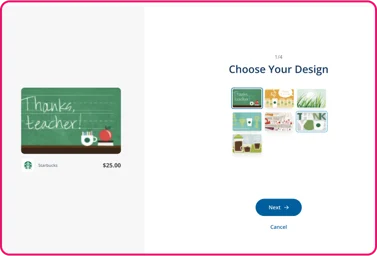
.png?width=379&height=257&name=Step02%20(2).png)
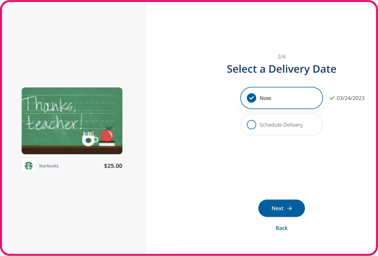
.png?width=379&height=258&name=Step03%20(1).png)
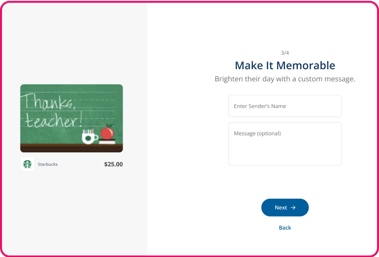
.png?width=379&height=257&name=Step03%20(2).png)
.png?width=379&height=257&name=Step05%20(1).png)
.png?width=379&height=258&name=Step06%20(1).png)
.png?width=379&height=257&name=Step07%20(1).png)
More eGifting Resources
Browse other helpful resources on sending eGift cards by email.

.png)

Have more questions? We're happy to help!
Contact our customer support team
- Support@RaiseRight.com
- 800-727-4715 Option 3
- Live chat during business hours